How to Harvest Tree Bark
Wildcrafting any plant should be a mindful task.
There was a storm that blew through my area a couple nights ago and it left me some presents: fallen staghorn sumac branches! I would like to share with you how I harvest the inner bark. I have used this same method for other barks as well, like from an apple tree.
Before I start, though, it is important to note something about sustainability for bark harvesting. With trees like apple and sumac, sustainability isn’t a serious issue since they grow easily and bountifully. Wildcrafting any plant should be a mindful task, no matter what, though. Only harvest what you need and what you will use. The goal is to have little to no waste, and to not take something that is not sustainable.
With this in mind, the reason I was so excited about and grateful for the gifts the storm left me was because the fallen branches happened naturally. Even though staghorn sumac does not have sustainability issues, I still do not like taking branches when I don’t have an immediate need. This was an opportunity for me to take the fallen ones and appreciate Nature’s unexpected gift!

Step 1: Trim and cut to size
The branches I collected from the ground were about 4-5 feet in length and had all the leaves and fuzzy drupes attached. To make it easier to strip the bark, I cut the branches into smaller sections and removed the leaves and drupes. The leaves/drupes are virtuous, too, but I just added them to my compost this time. (The drupes weren’t ripe yet).

Step 2: Strip the bark
Once the branches were cut into easier-to-handle sections, I (actually, my husbnad helped with this part because he’s that awesome) used a 3” pocket knife and sliced the bark from the sticks. I ended up with strips of outer and inner bark mostly attached still.

Basket of stripped sumac bark.

Step 3: Separate inner bark from outer bark
Since the inner bark is what we like to use for potion-making (tea, tincture, etc.), I needed to separate the inner bark from the outer bark. This is an easy, yet tidious process. The fresh inner bark is a bright green-white color, and the outer is brown, so it’s easy to determine which is which.

Step 4: Storage and preparation of inner bark
Once the inner bark is separated from the outer, you’re basically done with the process! At this point, you need to decide how you wish to use the plant material you just labored over. I decided to make a tincture with some, and to dry the rest for later use.

For tinctures, I like using the folk method, which is very simple and not standardized at all. (Note that this is NOT the method you want to use if you are trying to prepare it for sale - federal and state regulations dictate much better preparation, standardization, and record keeping; but, for home use or gifting to friends and family, it is just fine). The rest of the bark that didn’t fit into the jar went into the dehydrator.

Fun discoveries!
There are a few things I noted while processing this bark that I think are good to note here.
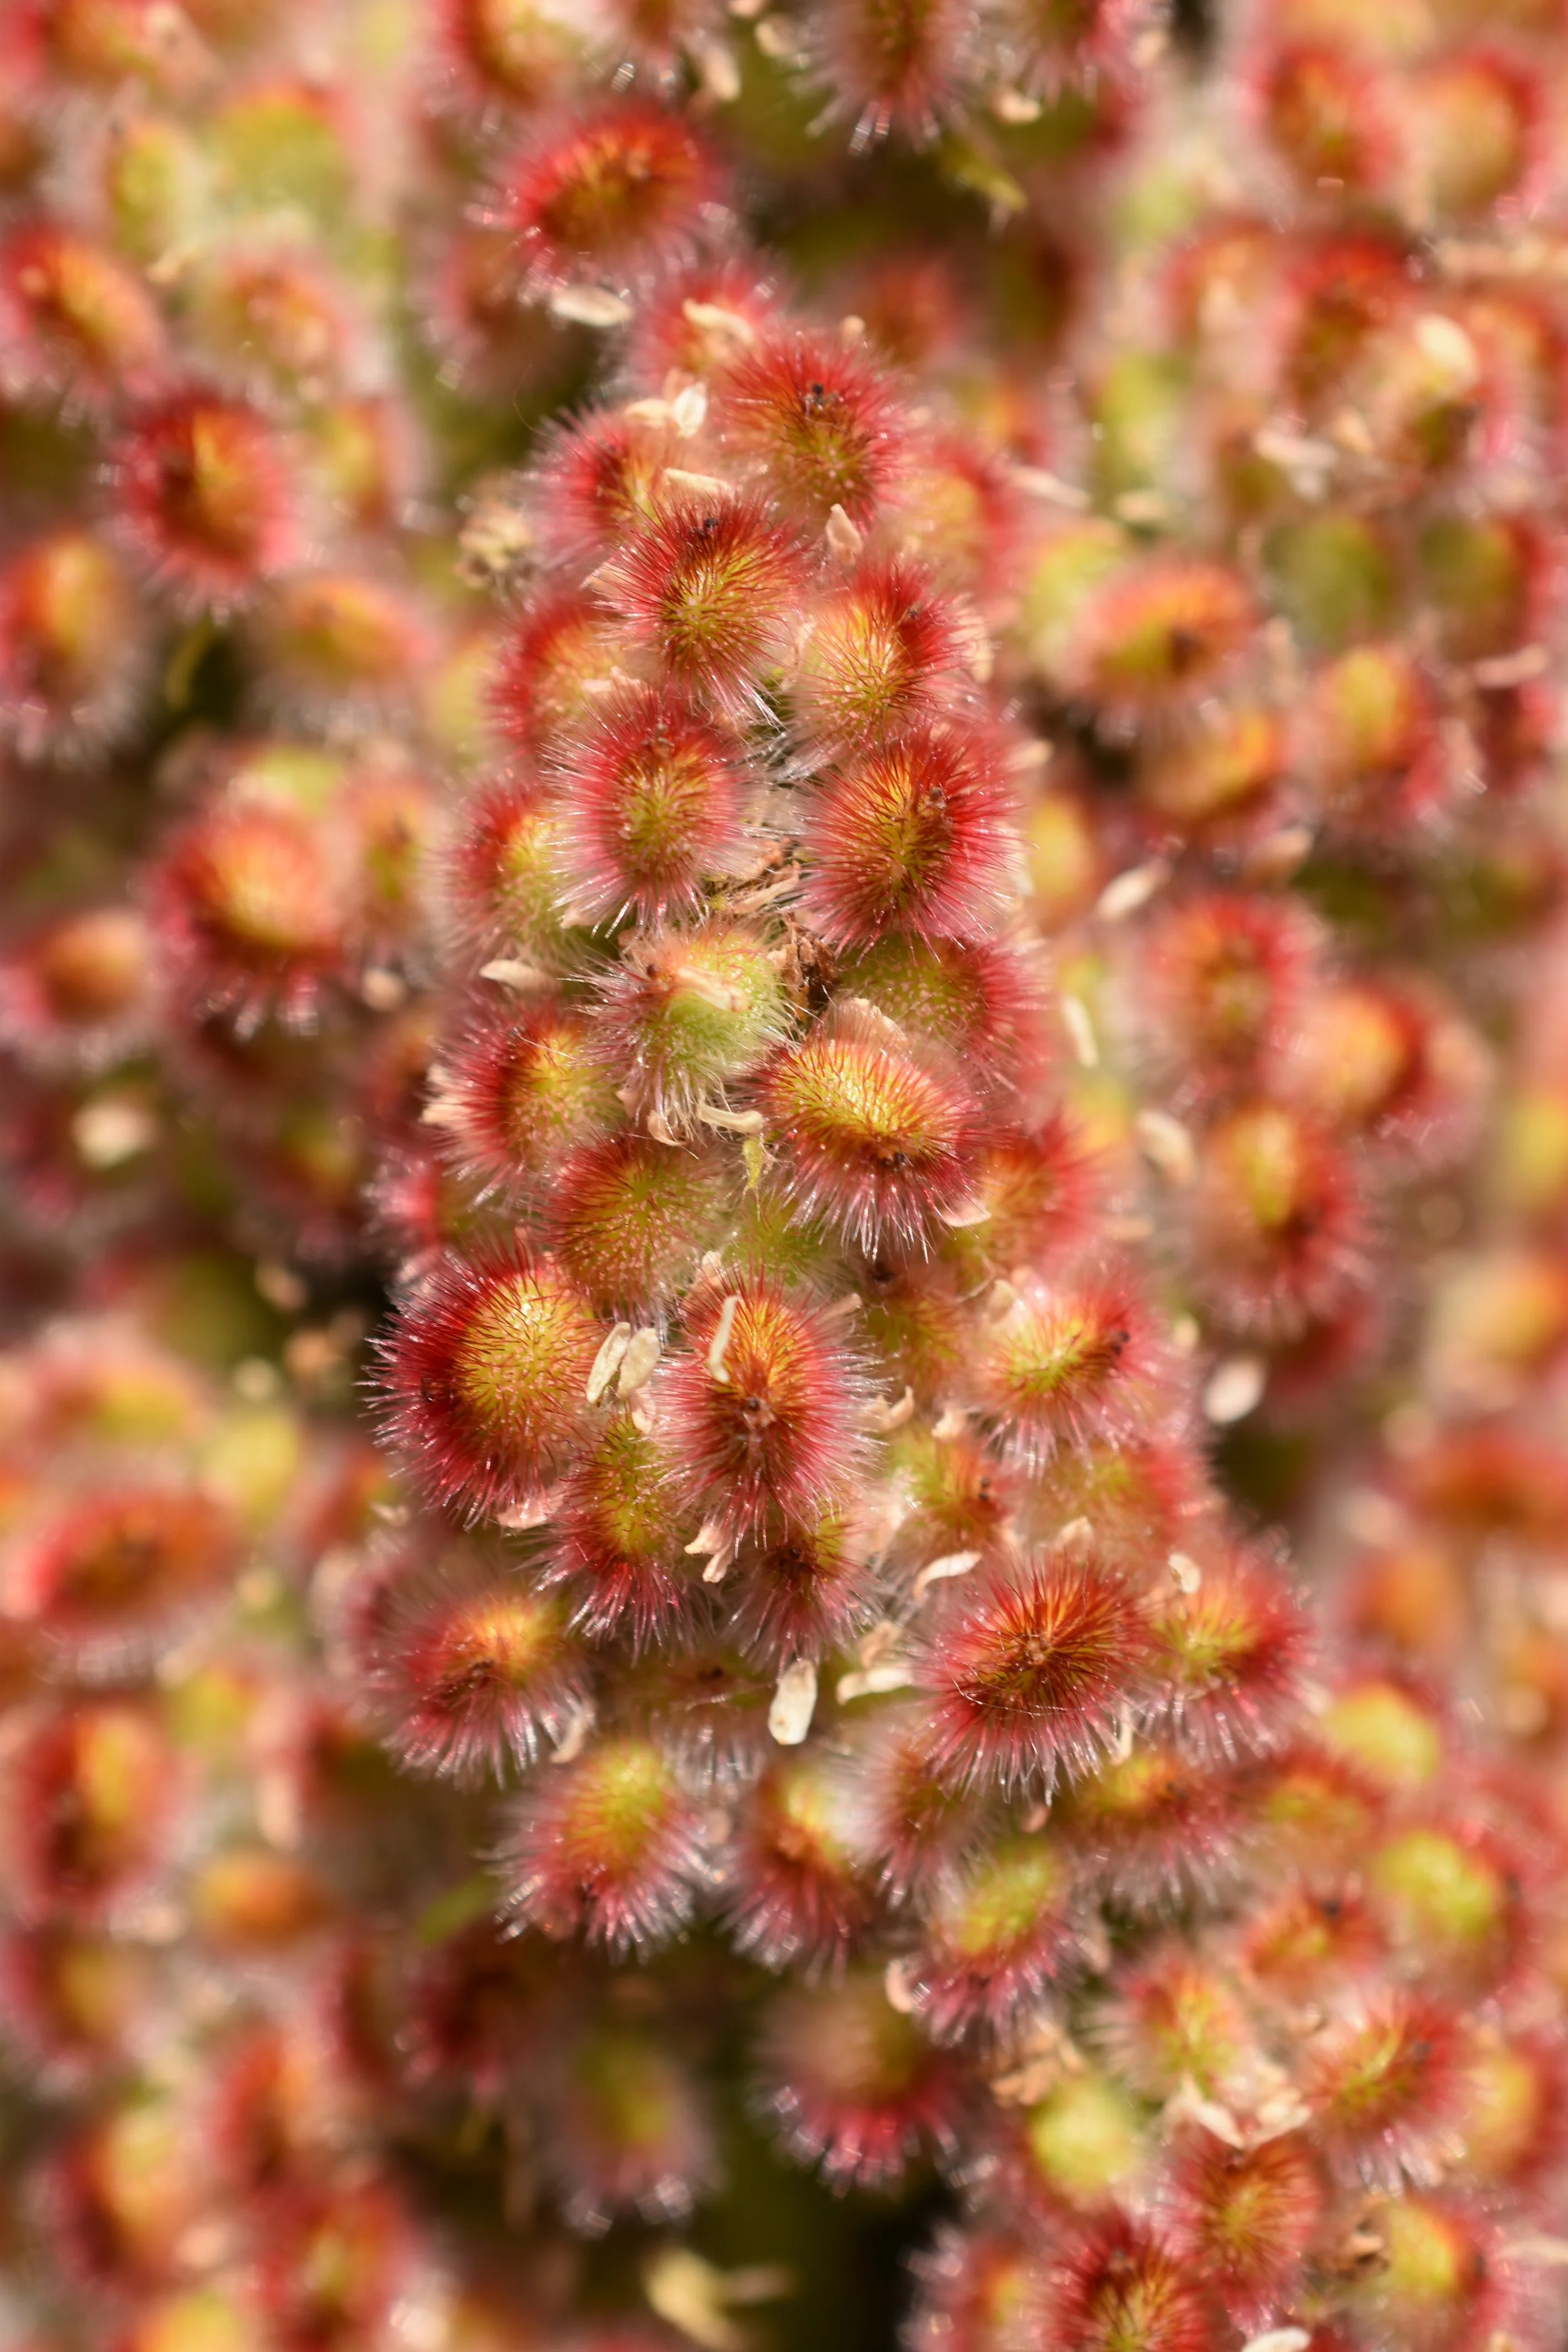
The young shoots/stems of the bark and the drupes are fuzzy! They feel like velvet and are slightly sticky. I’ve read that some indiginous peoples used this plant to make glue - I can see why. After processing, my fingers were very sticky.
The inner bark smells sweet and slightly sour. The ripe drupes (red in color) make a great “lemonade.”

Once the bark is stripped from the branches, what remains is a little slimy/sticky. The branches are not dense. My kids took them and banged them on the sidewalk to “play drums.” See the video here (turn on the sound)!
